Initial Setup on MontaukOS
This tutorial explains how to create your first account and set your time zone on MontaukOS.
Account creation and login
When you successfully boot MontaukOS for the first time, you should see the 'MontaukOS Setup' window, as depicted below.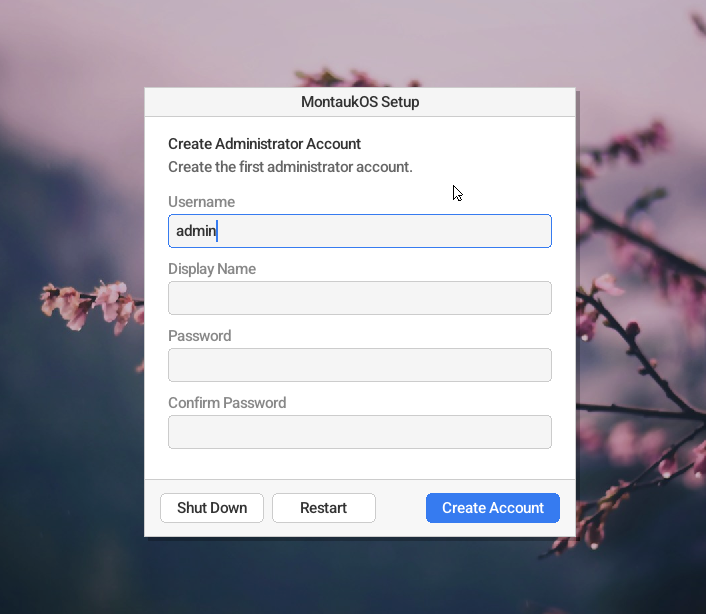
- It is recommended to select a new username for your account rather than keeping the default username 'admin'.
- Select a display name for your account.
- Choose a password for your account, and enter it in both the 'Password' and 'Confirm Password' fields.
- Click 'Create Account'.
- First-time setup is complete. Keep the 'Desktop' session selected and use the credentials you just created to log in to the system.
Time zone selection
- Click on the application menu icon located at the top-left corner of the desktop, and click the 'Settings' entry.
- Double-click the 'Time Zone' icon within the virtual 'Settings' folder.
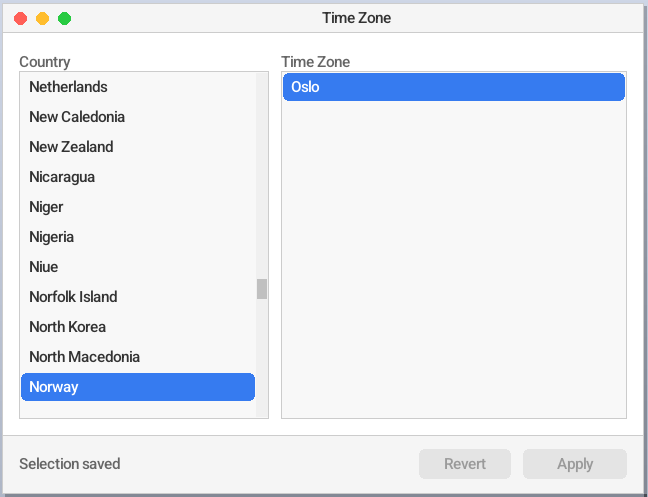
- The default time zone is Oslo, Norway. To adjust your time zone, scroll along the left pane (countries) and select your country or region. Then, select the city closest to your location on the right pane.
- Click 'Apply'.